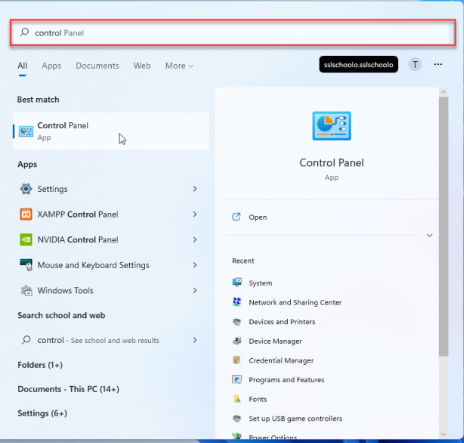
1 เข้าไปที่ Control Panel วิธีเข้า ให้คลิกที่ เริ่ม จากนั้นค้นหาคำว่า Control Panel ในช่องค้นหา และคลิกเปิด
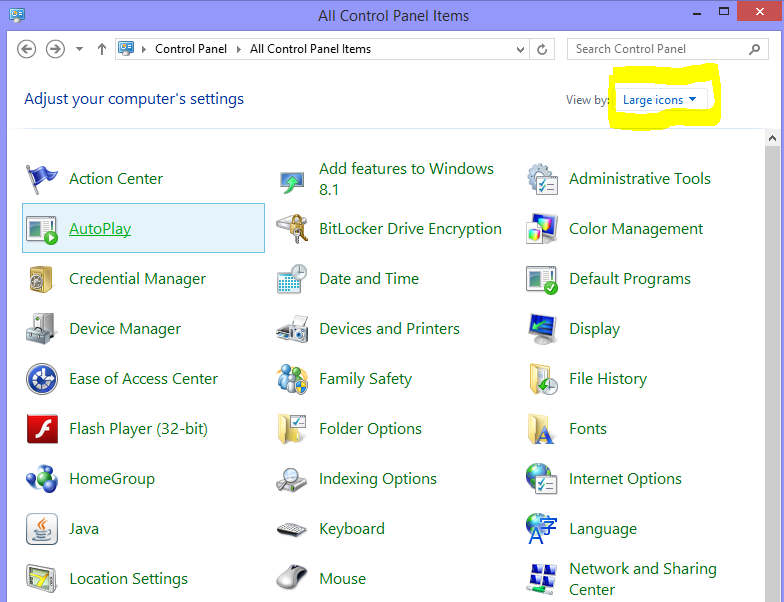
2. เมื่อเข้ามาที่ Control Panel คลิกที่มุมขวาบน แล้วเลือก Large icons
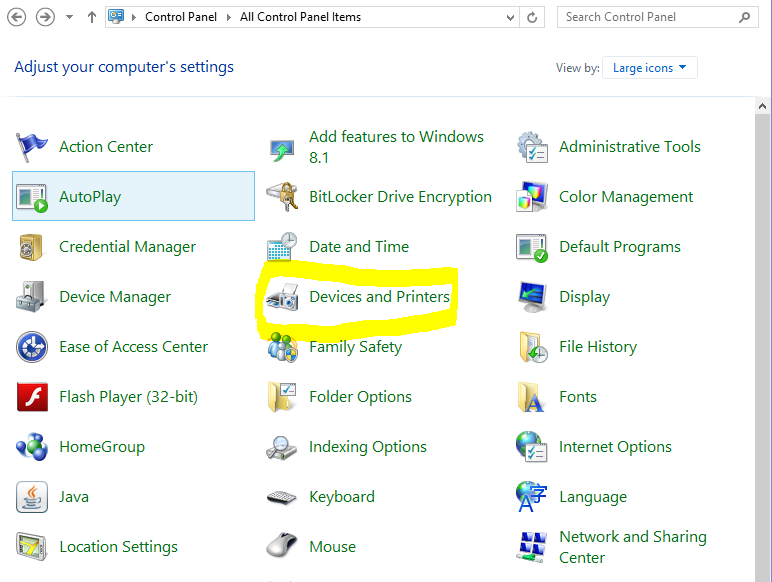
3. ก็ให้เลือก Devices and Printer
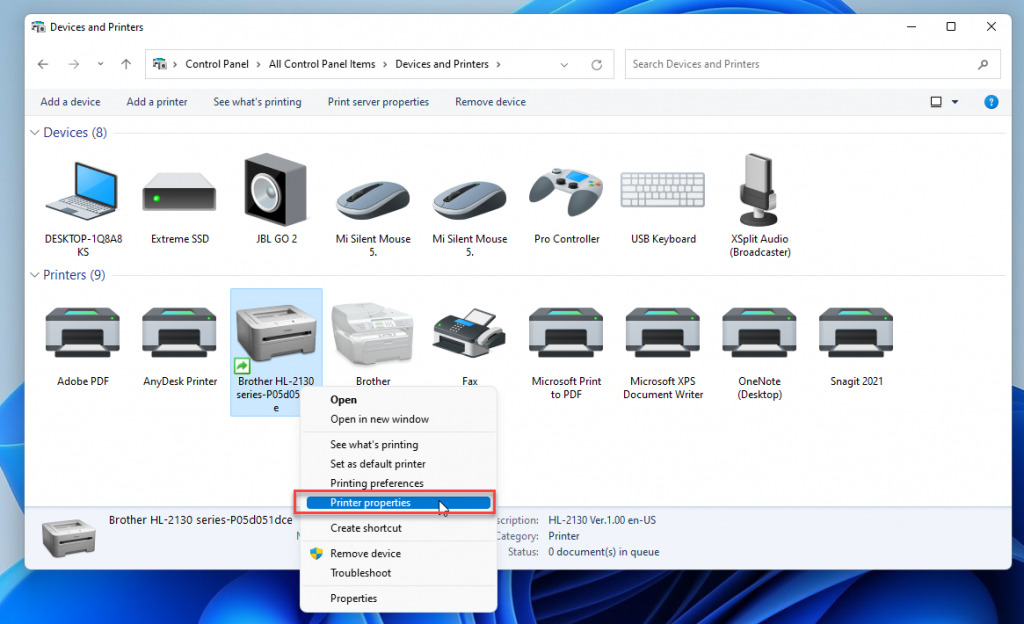
4. เมื่อเลือกแล้ว จะเจอรายการเครื่องปรินเตอร์ในระบบ ให้เราเลือกเครื่องปรินเตอร์ที่จะทำการแชร์ จากนั้น คลิกขวา ที่รูปปรินเตอร์ จะมีเมนูแสดงขึ้นมา ให้ทำการเลือก Printer Properties
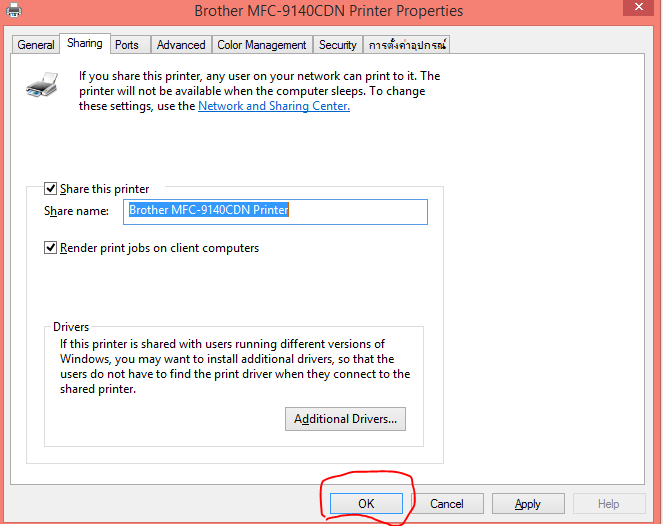
5. จากนั้นที่หน้าต่าง เลือกแท็ป Sharing ให้ตั้งค่าการแชร์ ดังรูป เพื่อเปิดการแชร์ จากนั้นกด OK
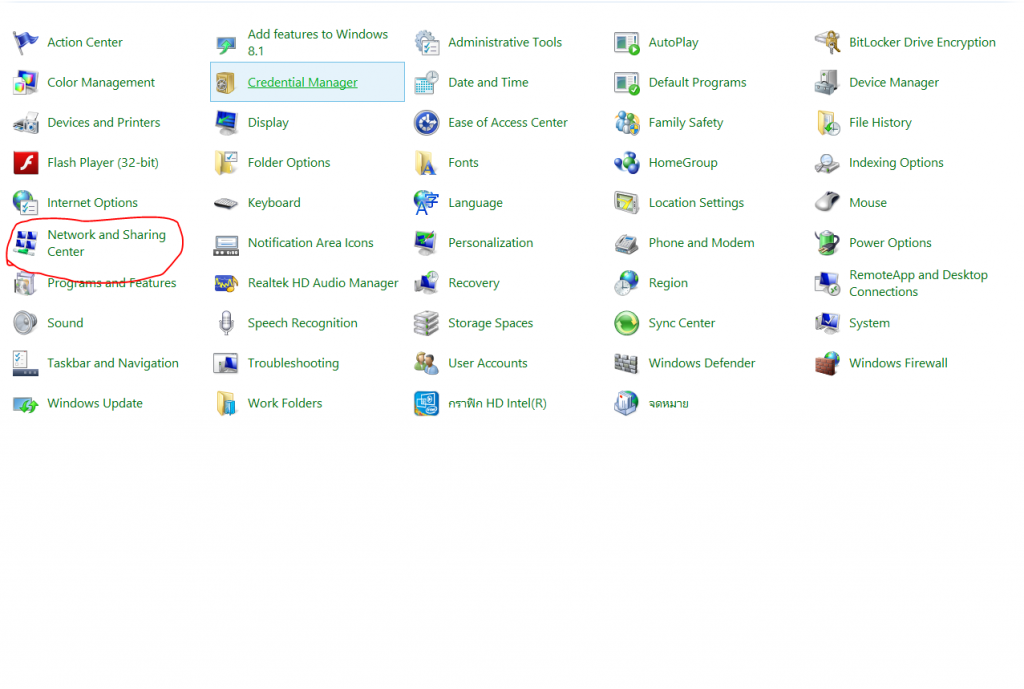
6. ในหน้าต่าง Control Panal ให้เลือกหัวข้อ Network and Sharing Center
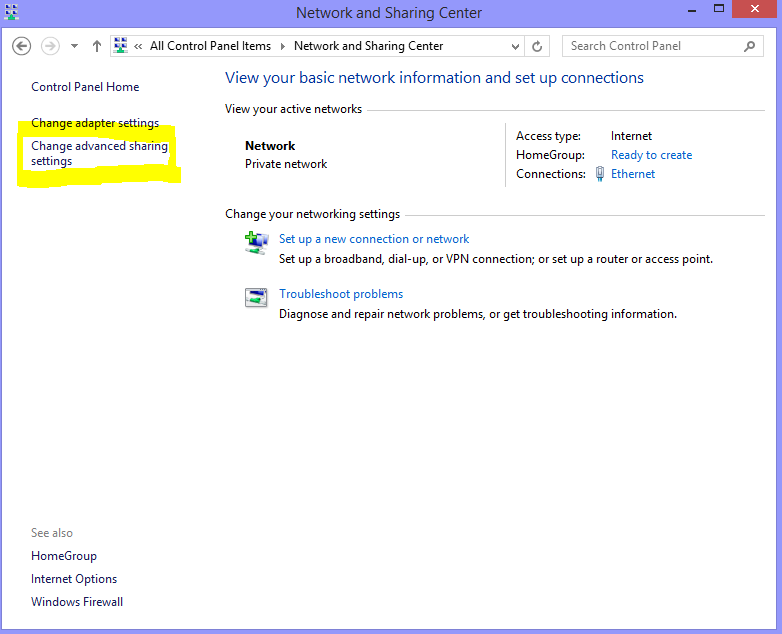
7. เมื่อเลือกและระบบจะแสดงหน้าต่าง ให้เราเลือกเมนูด้านซ้าย Change Advanced Sharing Settings
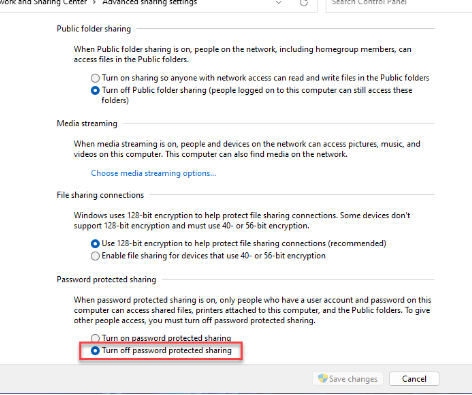
8. จากนั้นเลื่อนลงมาหัวข้อ All Network (คลิกสามเหลี่ยม) ระบบจะแสดงรายการที่ซ่อนออกมา ให้เลือก แล้วเลือก turn off password sharing แล้วกด save changes
การตั้งค่าการเปิดการแชร์เรียบร้อย
Credit. https://www.kmss.co.th/blog/